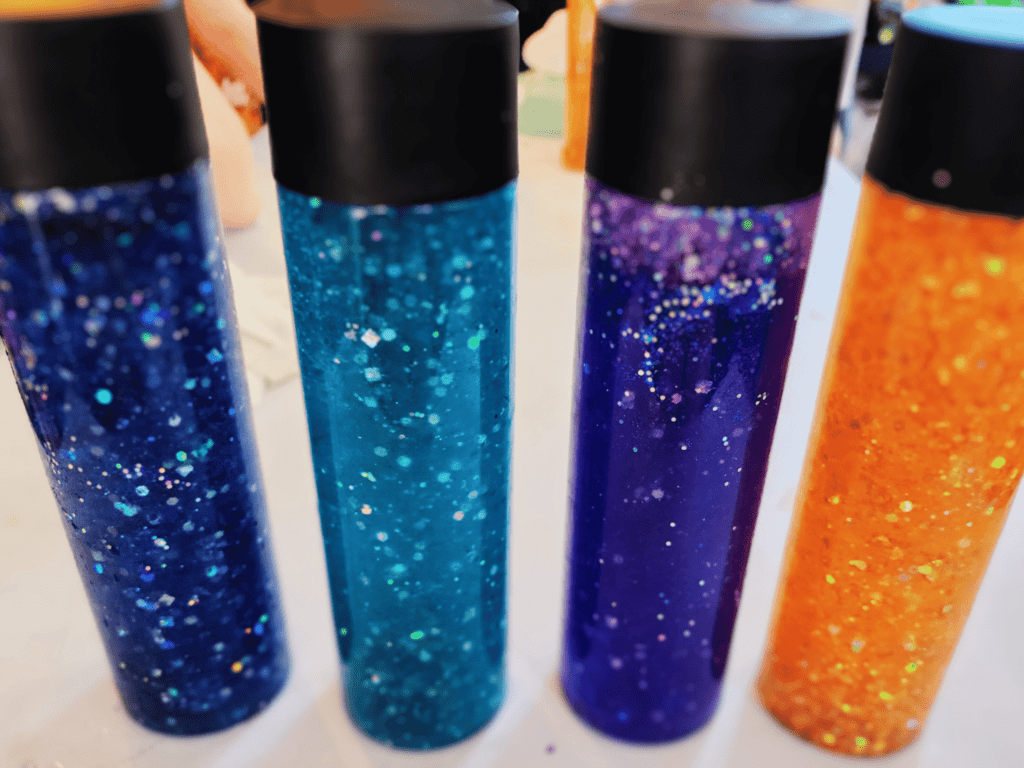
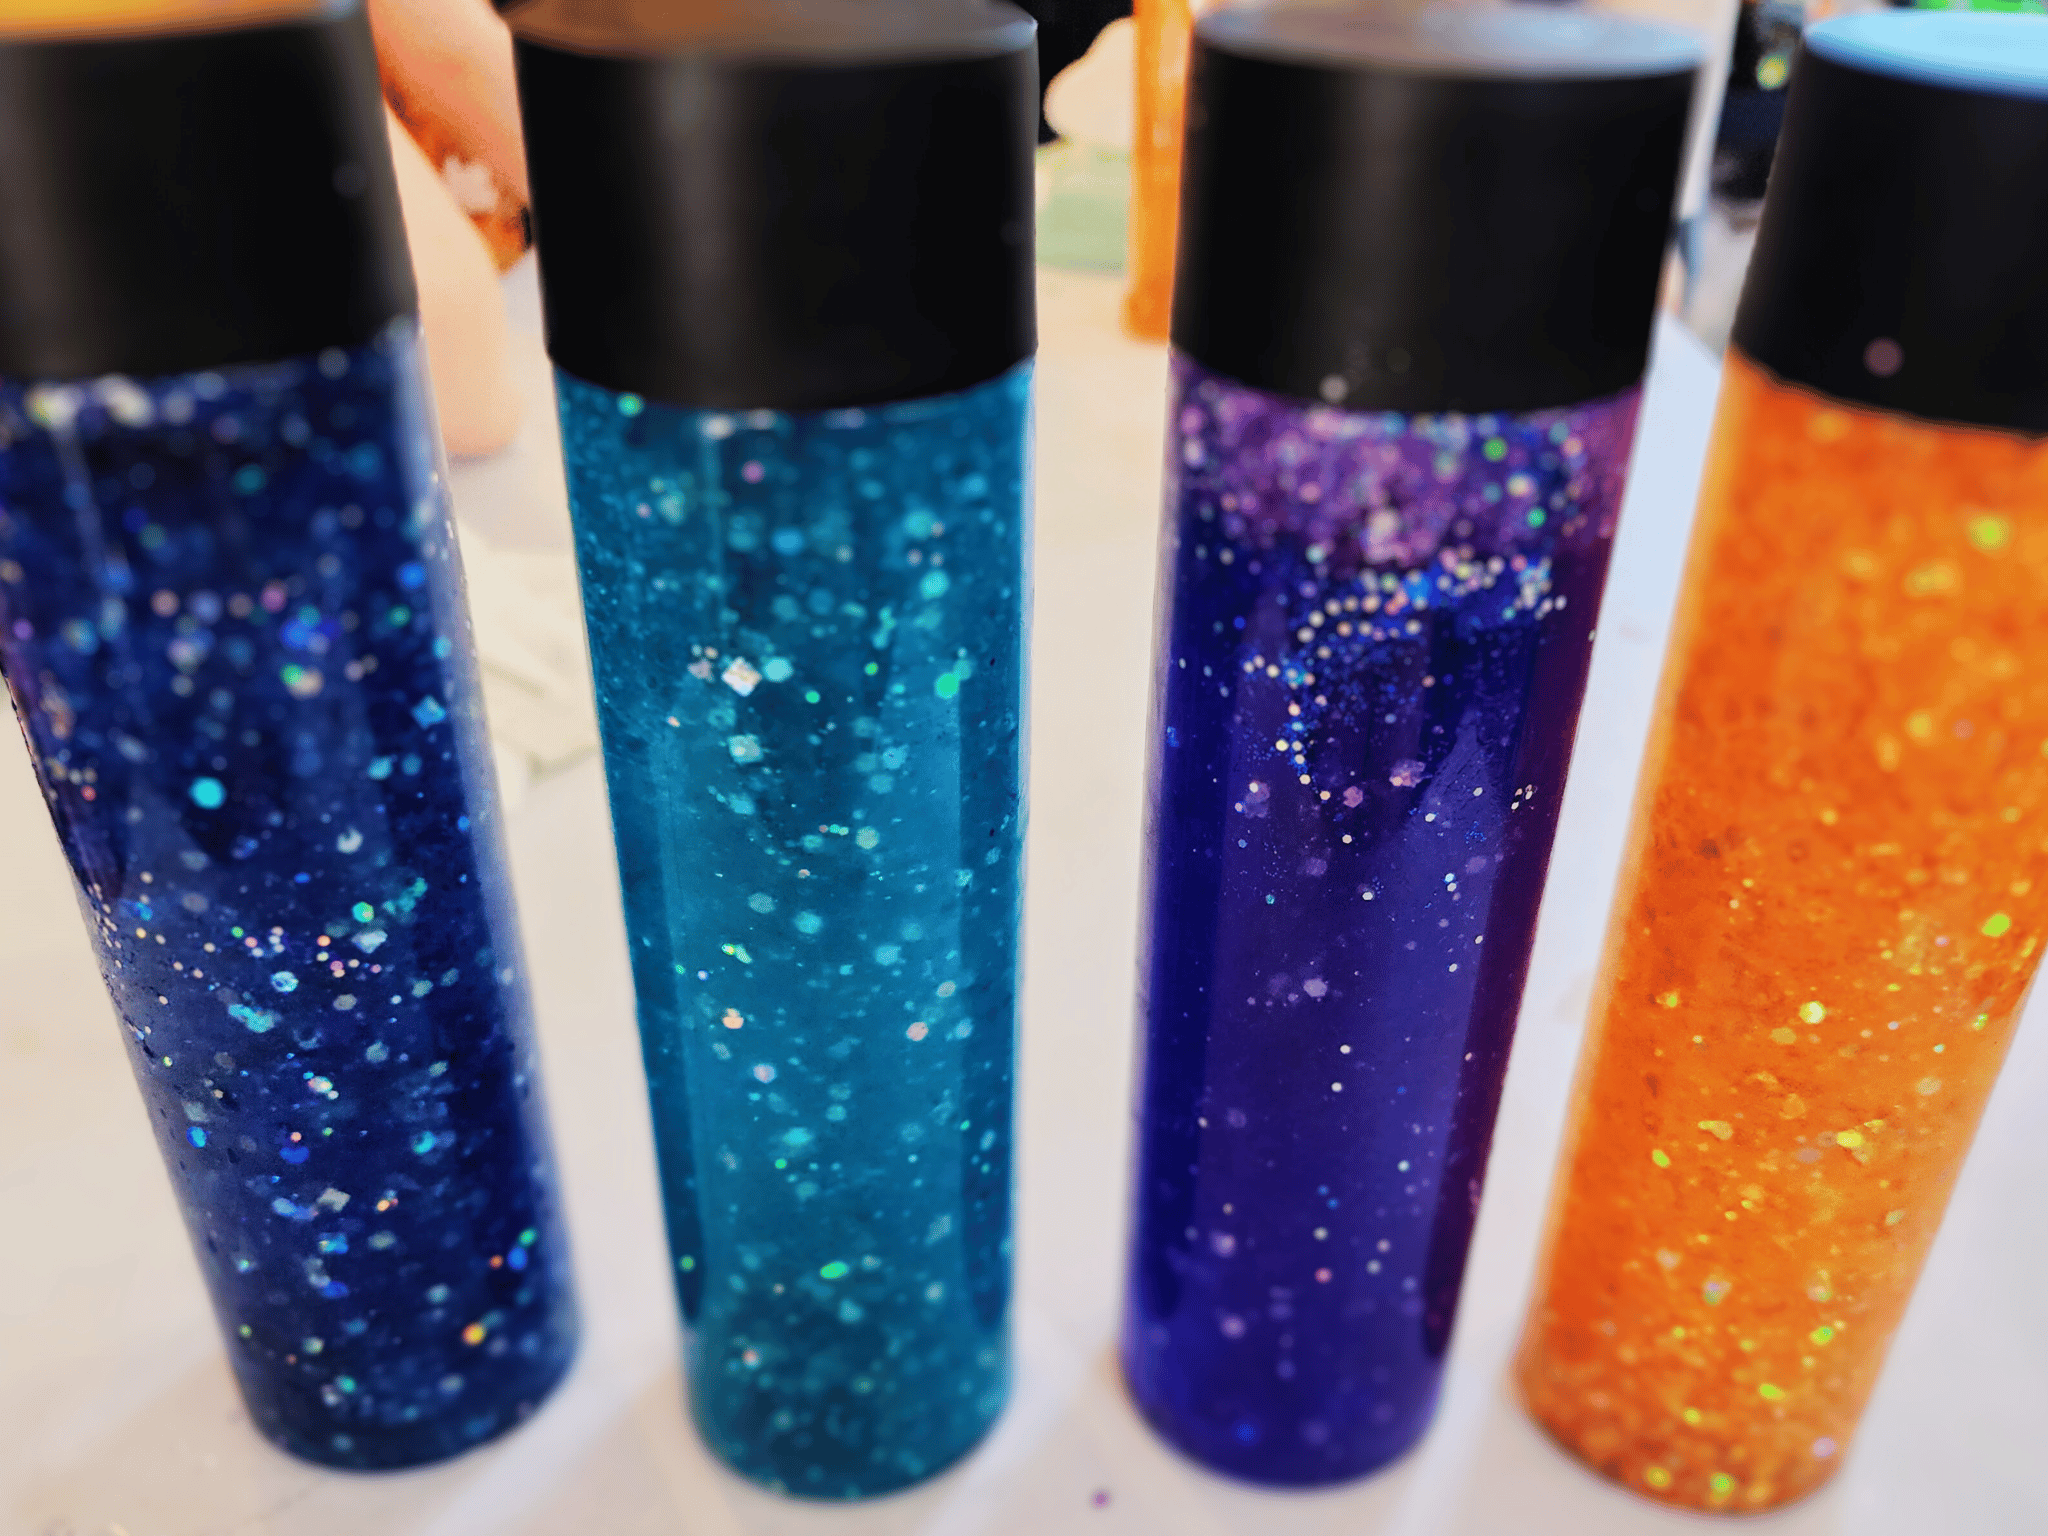
Small kids can have some big emotions. Sometimes it hard for both kids and parents to understand and cope. During the next meltdown try these calm down jars.
This content may contain affiliate links. See my full disclosure here.
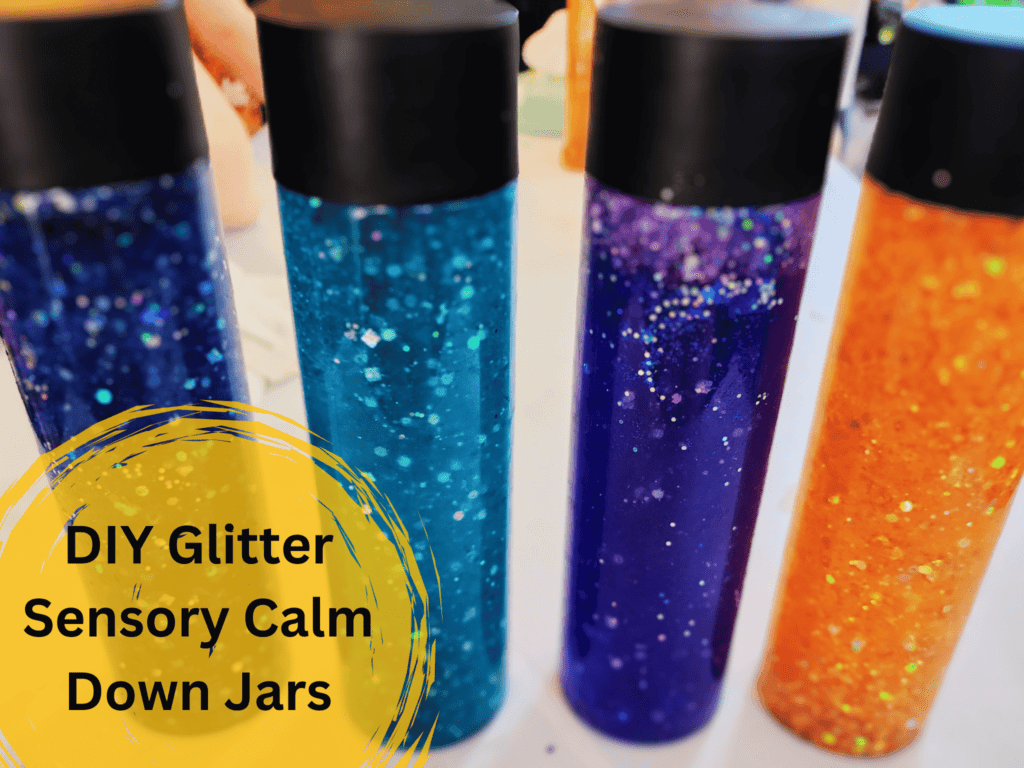
Calm down jars can be used for many things. We have used them for a few ourselves. Some of these examples include:
- Timers (for sharing toys or when someone is in trouble, etc.)
- Sensory (sometimes we get touched out, can’t focus, or just need something else to look at and this helps distract their mind)
- Calm Down (when our kids get too emotional and need to focus and learn how to control their emotions)
- Fun Toy (I mean who doesn’t like bright swirling glitter?!?)
As a mom, I could feed my child’s anxiety, or I could feed their peace. We set the temperature for our kids.
How to use sensory calm down jars:
When your child is upset, use the opportunity to talk about your feelings. They may be mixed up and you aren’t sure if you are angry, hungry, anxious, sad, tired, or any combination of emotions. It is hard to think or see clearly when everything is all mixed up. As you breath and let yourself think the emotions and the glitter all start to settle. Its ok to have mixed up emotions sometimes but we all need to take a step back and let everything settle or you will never be able to think clearly or be able to handle your emotions.
Supplies:
These are very customizable to your preference. You can modify to your color choices, glitter preference, “extras”, how fast it settles, etc.
I would suggest not going too dark in color and using more than one size of glitter to really get a pretty swirl.
Let’s Get Started
With your empty bottles add your desired amount of glitter. Aim for about a half inch. This is where you will want to add a variety of sizes. Just be careful not to add too much or it may just clump up as you add more to the bottles.
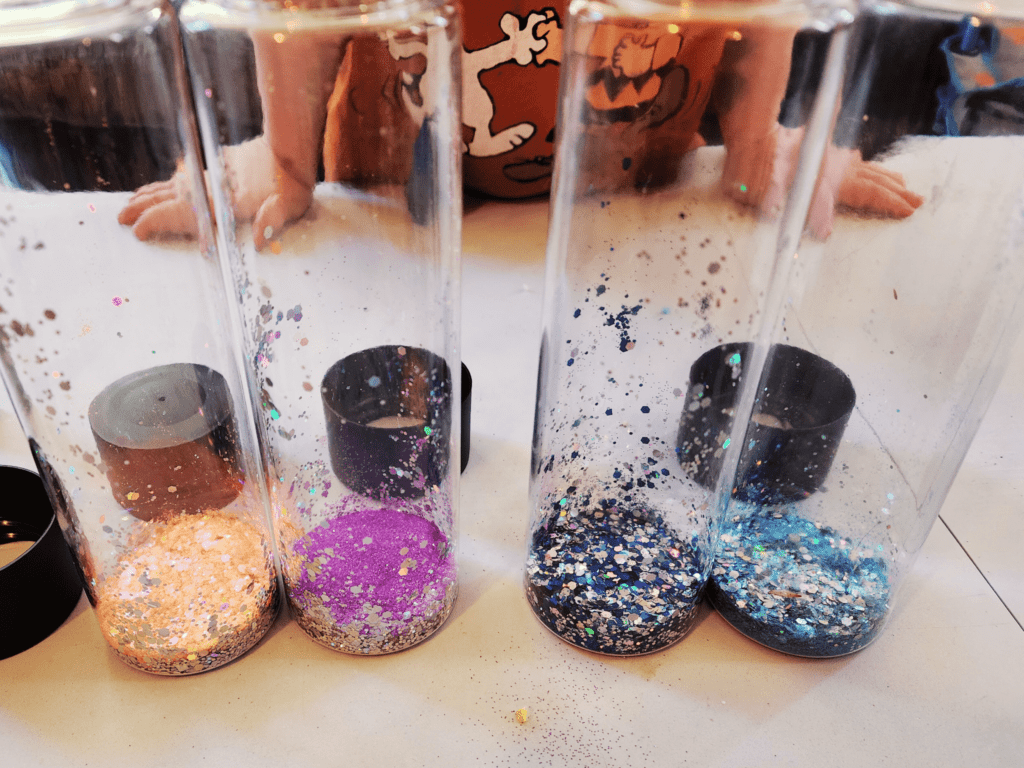
Next, you will add a splash of hot water. Use hot water from the faucet. No need to heat it up further. Then swirl it around to break up the glitter and prevent clumping.
Now comes the corn syrup. The corn syrup is what will determine how fast or slow the glitter will settle. Feel free to mix it up with each bottle. Aim for about 1/3 to 1/4 full but feel free to adjust to your preferred amount. You can also use vegetable glycerin instead of corn syrup but that is not as easy to find and more expensive.
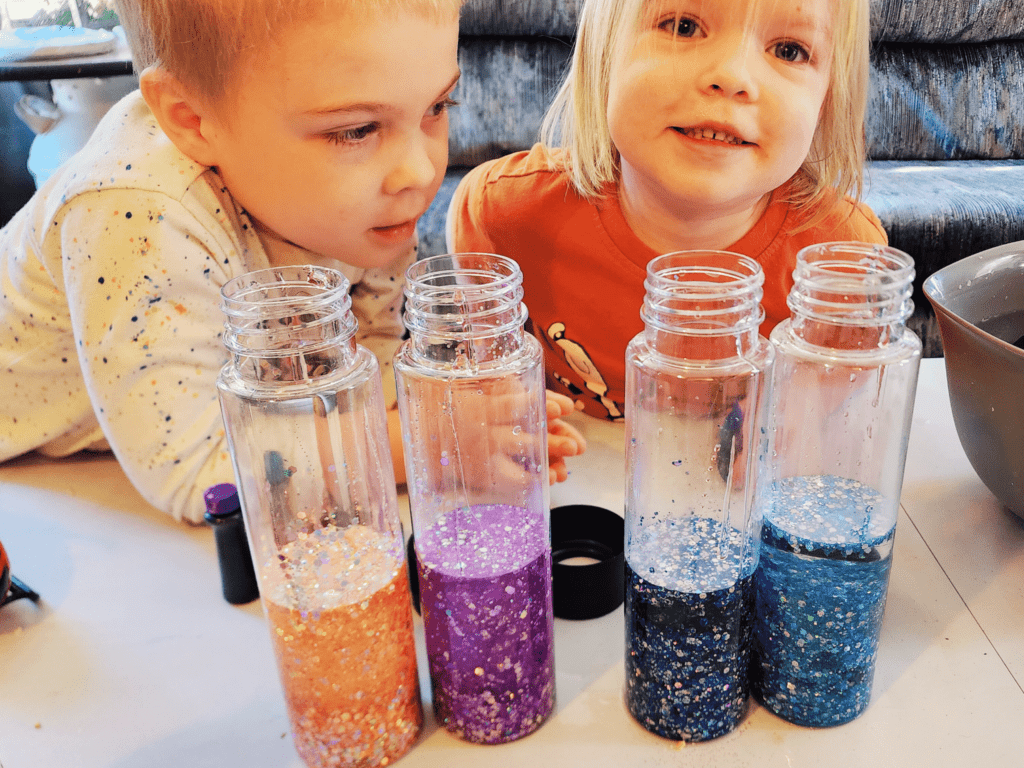
Time to add more water. Use more hot water to your bottles. Leave some headspace as you will need a little room to mix things up.
Add about 2-3 drops of dish soap. This will help keep the glitter from clumping but be careful not to add too much or you will end up with a bubbly bottle, and not in a good way.
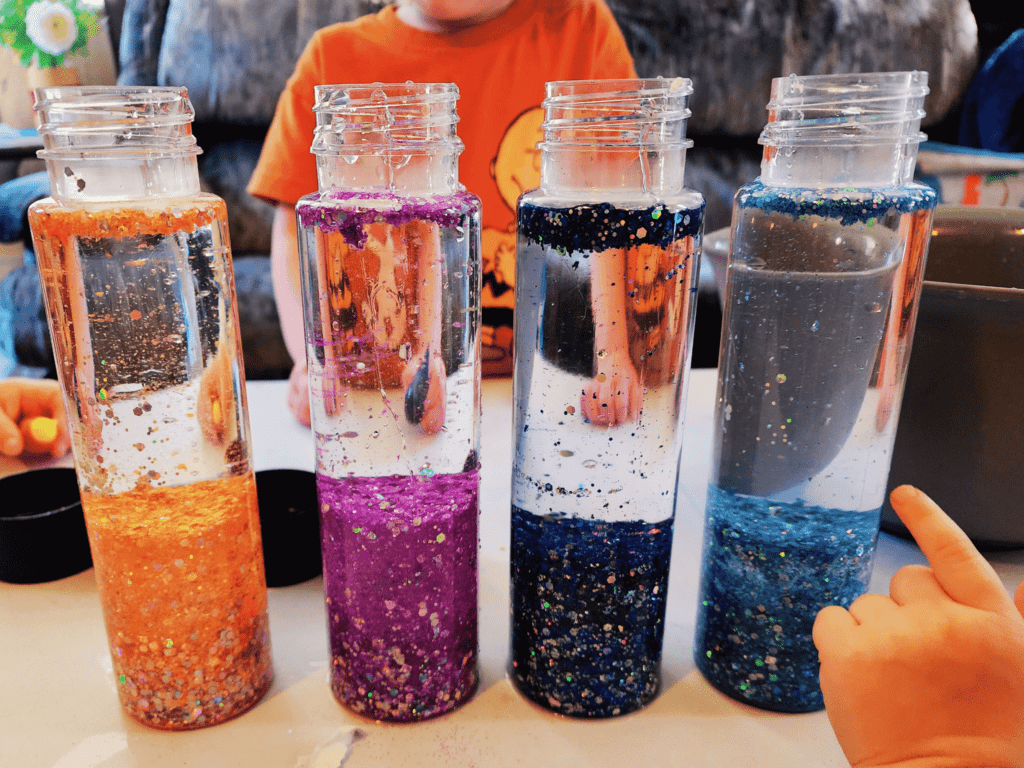
Now it’s time to close up the bottle. Try to gently shake, swirl, or turn your bottle around. You want to mix it up without making a bunch of bubbles.
At this point you probably have some glitter at the top. To fix this you can take the top off and gently stir it up with your finger. Have a towel ready and try to wipe off your finger in the bottle. If you aren’t careful, it WILL make a mess. Also make sure you wipe off your finger before mixes another bottle or you will end up with all sorts of mixed up glitter in your bottles.
Last it’s time to add your food coloring and any other “extras” to your bottle. As I mentioned earlier, do not put too much color in your bottles or it will be too dark to see the glitter.
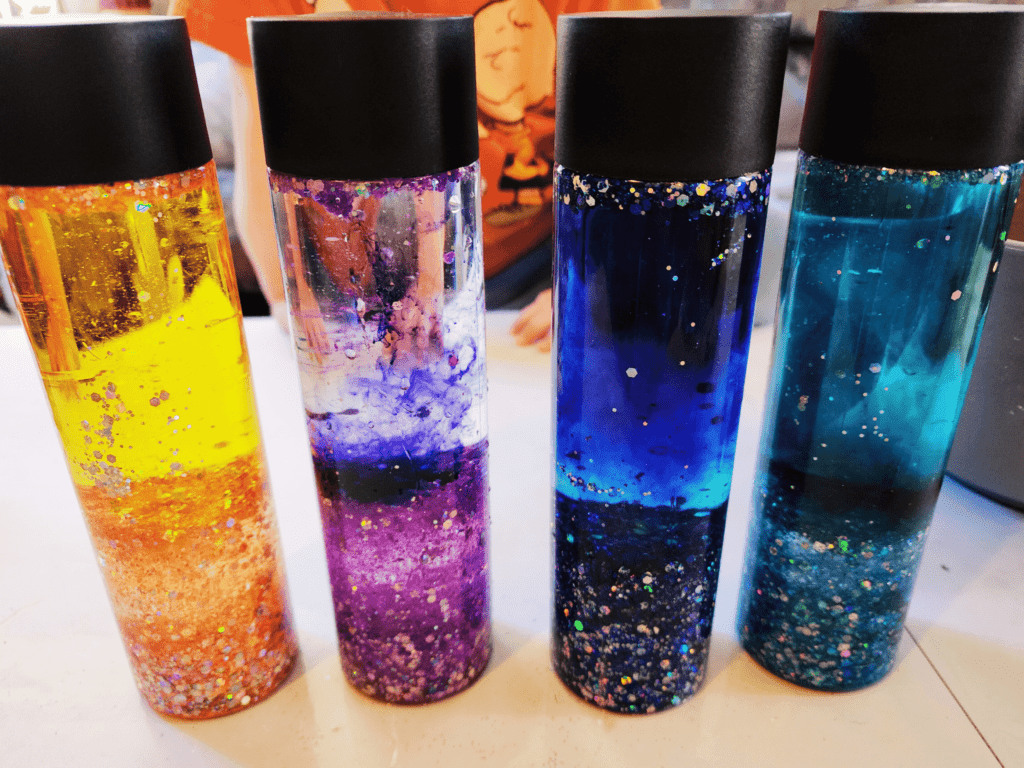
Close up your bottles and give it a test. At this point you can fine tune how fast or slow you want things to settle. If you want slower finish filling up your bottles with corn syrup and if you want faster use water.
Once the bottles are full, I would highly suggest super gluing the tops on. Otherwise, your kids could open them up or the corn syrup could slowly start leaking out. Been there done that….
Now you are ready to use your glitter calm down jars.
